Introduction
Almost every kitchen has one — the classic four-sided metal cheese grater. Most of us are familiar with the big holes for shredding and the smaller holes for fine grating, but that mysterious fourth side — the one that looks rough, with sharp raised bumps — often leaves people wondering what it’s actually for. It might surprise you to learn that this side has a specific purpose, and when used correctly, it can transform your cooking in subtle yet delicious ways.
Origin and Cultural Significance
The box grater has been a kitchen essential since the 1540s, originally designed in France by François Boullier to help people use hard, aged cheeses that might otherwise go to waste. Over centuries, it evolved to include multiple grating surfaces for different textures and purposes.
In many cultures, the grater is more than just a tool — it’s part of the art of home cooking, allowing for texture control in everything from Italian pasta dishes to Caribbean spice blends. That puzzling fourth side has always served as the most specialized surface, proving that even in a simple tool, culinary craftsmanship has layers of intention.
Ingredients (What You’ll Need to Try It Out)
- A four-sided box grater
- A block of hard cheese, such as Parmesan or aged cheddar
- Optional items to experiment with:
- Nutmeg
- Garlic cloves
- Onions
- Citrus zest (lemon, lime, or orange)
Optional Additions
- Protective glove or cut-resistant finger guard for safety
- Cutting board or plate to catch the grated ingredients
- Brush or sponge for cleaning those tiny, rough edges easily
Tips for Success
- Grip the grater firmly and use gentle pressure—those sharp bumps can scrape easily.
- Use dry ingredients to avoid clogging the holes.
- Clean immediately after use to prevent dried bits from sticking.
- Grate in small motions for more control and finer texture.
- Experiment—that fourth side works on more than just cheese!
Instructions (How to Use the Fourth Side)
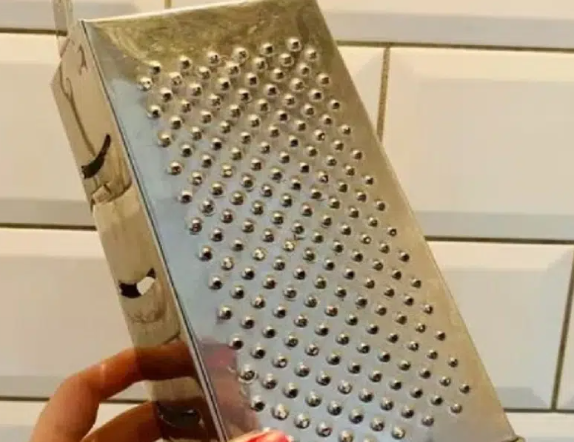
- Identify the fourth side: It’s the one with spiky, uneven holes—almost like tiny, sharp teeth.
- Choose your ingredient: Hard cheeses, nutmeg, garlic, or onions work best.
- Rub gently: Move your ingredient in small, circular or downward motions against the spikes.
- Collect the result: You’ll notice it produces a pulp or paste rather than shreds.
- Use immediately: This freshly grated paste infuses flavor quickly in sauces, soups, and dressings.
Description
The fourth side of your cheese grater is meant for grating into a fine paste or purée. It’s perfect for breaking down hard foods like Parmesan, ginger, nutmeg, or even garlic, creating an almost creamy texture that melts beautifully into recipes. Instead of shredding, it crushes the food into tiny fragments—ideal for blending flavors seamlessly.
Nutritional Information
While the tool itself doesn’t add calories, it helps release more flavor from ingredients, allowing you to use less cheese, salt, or fat for the same taste intensity. In that sense, it’s a small step toward healthier cooking habits without compromising flavor.
Conclusion
That often-ignored side of your cheese grater is a culinary secret weapon. Designed for creating fine, flavorful pastes, it helps you take ordinary dishes up a notch with richer taste and smoother texture. Once you start using it, you’ll wonder how you ever cooked without it.
Recommendation
Next time you pull out your grater, don’t stop at shredding cheese. Try grating garlic into a quick marinade, zesting citrus for desserts, or pulping onions for soups. Keep a gentle hand and a bit of curiosity—your taste buds will thank you.
Embracing Healthful Indulgence
The beauty of cooking lies in discovering new possibilities in familiar tools. The humble cheese grater, with its four sides of texture and creativity, reminds us that even small details can make a big difference. Embrace the satisfaction of learning its full potential—because sometimes, the best flavor secrets are hiding right in your kitchen drawer.