Introduction
A glass stovetop adds sleek beauty to any kitchen, but it also shows every spill, stain, and scorch mark. Over time, cooked-on residue can leave the surface looking cloudy and dull. The good news? With the right approach, restoring your glass stovetop to a bright, streak-free shine is surprisingly simple. This guide walks you through an easy routine to refresh your stovetop and keep it looking like new.
Origin
Glass cooktops became popular in the late 20th century as homeowners sought visually clean lines, modern finishes, and easier maintenance compared to traditional coil burners. As these smooth, ceramic surfaces grew in popularity, people began experimenting with affordable household products to remove stubborn residue without damaging the finish. Those simple, tried-and-true solutions evolved into reliable stovetop restoration hacks.
Cultural Significance
Because the kitchen is often the heart of the home, maintaining a fresh cooking space symbolizes care, nourishment, and hospitality. A clean stovetop reflects pride in one’s environment and supports a healthier, more enjoyable cooking routine. Today, quick and effective cleaning methods are valued for helping households save time, money, and effort while maintaining a welcoming space.
Optional Additions
- Razor scraper (for stubborn, cooked-on spots)
- Lemon juice for natural degreasing
- Glass cleaner for final polishing
- Essential oils for fragrance
- Paper towels for easy clean-up
Tips for Success
- Always let the surface cool completely before cleaning.
- Avoid abrasive tools (steel wool) that may scratch the surface.
- Use circular motions for streak-free shine.
- For burnt spots, allow baking soda and vinegar to sit longer.
- Perform light maintenance weekly to prevent buildup.
- Wipe spills quickly after cooking.
Instructions
- Safety First
Allow the glass stovetop to cool completely before you begin. - Wipe Loose Debris
Use a warm, damp cloth to remove crumbs and loose residue. - Build Your Cleaner
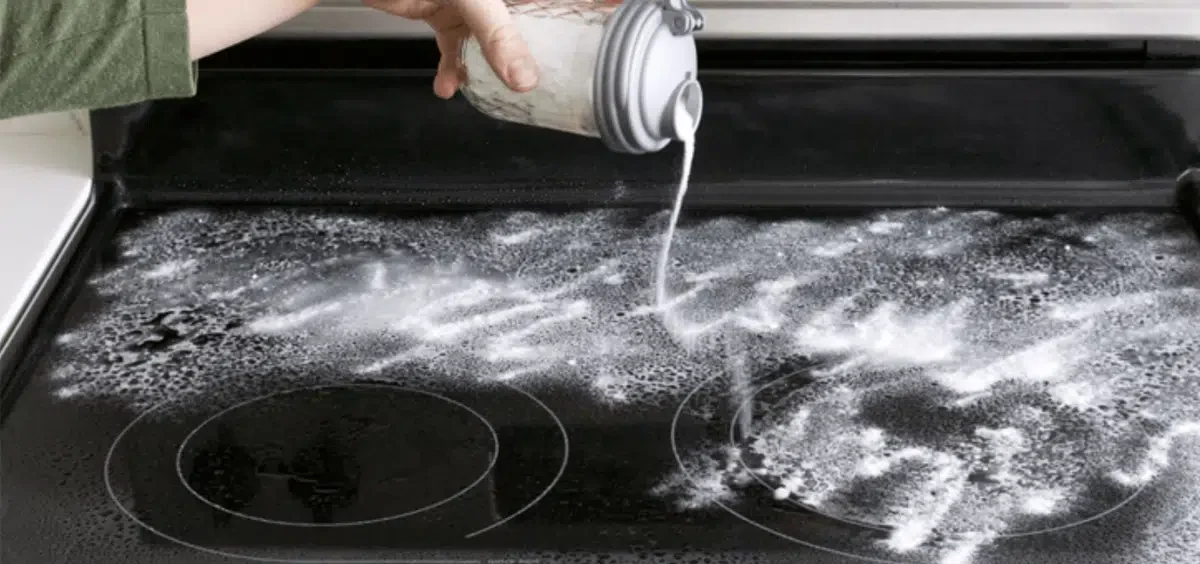
Sprinkle baking soda over soiled areas.
Add a few small drops of dish soap. - Activate With Vinegar
Pour or spray white vinegar over the baking soda.
The gentle foaming reaction helps lift grime. - Soak Time
Let the mixture sit for 10–15 minutes to soften cooked-on buildup. - Scrub Gently
Use a soft sponge to wipe in circular motions, lifting residue as you go. - Tackle Stubborn Spots
If necessary, carefully use a razor scraper at a shallow angle to remove stuck-on grime. - Rinse + Buff
Wipe with warm water, then use a clean microfiber cloth for a streak-free polish.
Optional: Finish with glass cleaner for extra shine.
Description
This cleaning method harnesses the gentle abrasiveness of baking soda and the degreasing power of dish soap, activated by vinegar to loosen stubborn residue. Soft friction lifts off cooked-on stains without scratching. When finished, the stovetop looks noticeably brighter and smoother, with a polished, like-new shine.
Conclusion
Cleaning your glass stovetop doesn’t require harsh chemicals or expensive products. With only a few household staples, you can dissolve buildup and restore brilliance in minutes. Consistent light maintenance prevents stubborn stains and keeps your kitchen sparkling with less effort long-term.
Recommendation
Use this method weekly or after heavy spills to maintain a streak-free shine. For extremely stubborn residue, repeat the process or use a razor scraper carefully. Keeping a spray bottle of vinegar handy and wiping after cooking will help your stovetop stay clean with minimal effort.
Embracing Healthful Indulgence
A fresh stovetop makes the kitchen more inviting and inspires healthier cooking habits. By caring for your space with gentle, eco-friendly products, you elevate everyday life while protecting your appliances. Celebrate the joy of a gleaming kitchen—where nourishing meals and beautiful surroundings come together with ease.